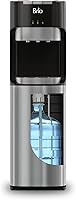
How to Clean a Bottom Load Water Cooler: The Basics
On this page (7 sections)
The easiest way to clean a bottom load water cooler is by using a mild soap and water solution and a soft cloth or sponge. Regular cleaning helps prevent mold and unpleasant odors, ensuring you always have fresh-tasting water. It’s a simple process that makes a big difference.
Keeping your water cooler clean is essential for hygiene and water quality. Over time, bacteria and mineral deposits can build up, affecting both the taste of your water and the cooler’s performance. Many people overlook this, but a little effort goes a long way to maintain a healthy drinking water source.
- Disconnect the power.
- Empty the hot and cold tanks.
- Wash removable parts with soap and water.
- Sanitize the reservoir and spigots.
- Rinse thoroughly.
Ready to get your water cooler sparkling clean? Let’s walk through the simple steps to tackle this task together.
Keeping Your Bottom Load Water Cooler Clean and Fresh
When you have a bottom load water cooler, you’ve likely enjoyed the convenience of easy bottle changes. But have you thought about how to keep the cooler itself clean? It’s a task many people put off, but it’s really quite simple. Regular cleaning prevents mold, bacteria, and funky odors from growing. This ensures your water always tastes great. We’ll walk you through the basic steps so your cooler stays hygienic.
Why Regular Cleaning Matters for Your Water Cooler
Think of your water cooler like any appliance that handles drinking water. It needs occasional maintenance. If you don’t clean it, things can build up inside. This includes mineral deposits from the water and even slime from bacteria. These can affect the water’s taste and smell. They can also potentially impact your health.
Many guidelines suggest cleaning your water cooler every 3 to 6 months. This frequency can vary based on how often you use it and the quality of your tap water. If you notice any off-tastes or smells, it’s definitely time for a cleaning session. Keeping it clean is a small step for a big payoff in water quality.
Understanding Common Issues and Their Causes
Why does cleaning become necessary? It’s usually due to a few common culprits. First, there’s the biofilm. This is a thin layer of microorganisms that can grow in moist environments. Water coolers are prime spots for this. You might notice a slimy feel or a slight odor.
Another issue is mineral buildup, also known as scale. This comes from the dissolved minerals in water, like calcium and magnesium. Over time, these can form deposits inside the cooler, especially in the heating and cooling reservoirs. This can sometimes affect how well your cooler works.
Finally, there’s the potential for cross-contamination. If you use dirty hands to refill bottles or touch the spigots frequently without washing, you can introduce germs. Regular cleaning helps to reset this and keep everything sanitary. The CDC recommends regular cleaning of water dispensers for hygiene.
Gathering Your Cleaning Supplies
Before you start, it’s good to have everything ready. This makes the process go much smoother. You won’t have to stop halfway through to find a missing item. For most cleaning jobs, you won’t need anything too fancy. Simple household items will do the trick.
Essential Cleaning Tools You’ll Need
- Mild dish soap: Choose a gentle, unscented variety if possible.
- Soft cloths or sponges: Microfiber cloths are great because they don’t scratch. Avoid abrasive scrubbers.
- Bottle brush (optional but recommended): For reaching inside reservoirs or tanks if accessible.
- Food-grade sanitizer: Options include a diluted bleach solution or a commercial water cooler sanitizing kit.
- Clean water: For rinsing.
- Gloves: To protect your hands.
Having these items on hand means you’re prepared. It’s like getting ready to cook a meal; you want all your ingredients prepped. A clean environment makes for a cleaner cooler. Plus, wearing gloves is always a good idea when dealing with cleaning solutions.
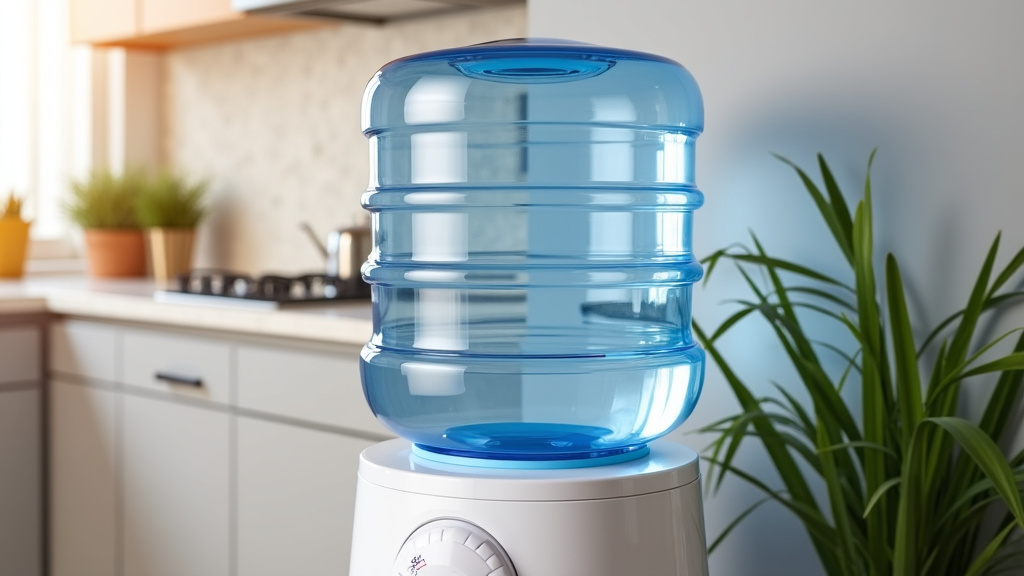
Step-by-Step Guide to Cleaning Your Bottom Load Water Cooler
Now that you have your supplies, let’s get to the actual cleaning. We’ll break it down into easy steps. Remember to always unplug the cooler before you begin any cleaning to avoid electrical hazards.
Step 1: Power Down and Drain
First things first, unplug your water cooler from the electrical outlet. This is a critical safety step. Next, you’ll need to drain any water remaining in the reservoirs. Most bottom load coolers have a drip tray that can be removed.
Underneath the drip tray, you’ll often find a drain valve. Open this valve to let out the water. If your cooler doesn’t have a visible drain valve, you may need to empty it from the top. You can do this by carefully tipping the cooler or using a pump to remove the water from the internal reservoir. Some models might have a small tap at the back for draining.
Make sure to drain both the hot and cold water. If you have a dispenser with a hot water function, be extra cautious as the water can be very hot. Let it cool slightly before draining. Collect the drained water in a bucket or sink.
Step 2: Clean Removable Parts
Take out any removable parts, such as the drip tray and any internal components that can be detached. Wash these thoroughly in your sink with warm water and mild dish soap. Use a soft cloth or sponge to scrub away any visible grime or residue.
Rinse these parts well with clean water. Then, set them aside on a clean towel or drying rack to air dry completely. Ensuring they are fully dry helps prevent mildew growth. This step is straightforward and makes a big difference in the overall cleanliness.
Step 3: Sanitize the Reservoir and Spigots
This is where you tackle the inside of the cooler. You have a couple of options for sanitizing. A common method is using a mild bleach solution. Mix one tablespoon of bleach with one gallon of water. This concentration is recommended by many health organizations for sanitizing food surfaces.
Carefully pour this sanitizing solution into the water reservoir at the top of the cooler. Let it sit for about 5-10 minutes. You can also use a food-grade sanitizer specifically designed for water coolers. Follow the product’s instructions carefully. Some people prefer using a specialized kit to avoid any potential bleach taste.
While the sanitizer is working in the reservoir, use a damp cloth or sponge dipped in the solution to wipe down the spigots and the surrounding area. Be gentle but thorough. This gets rid of any germs on the dispensing points.
Step 4: Flush the System Thoroughly
After the sanitizing solution has sat for the recommended time, you need to flush it out completely. Drain the sanitizing solution from the drain valve or by tipping the cooler again. You want to remove all traces of the cleaning agent.
Now, fill the reservoir with fresh, clean water. Dispense this water through both the hot and cold spigots until the tanks are empty. Repeat this rinsing process at least two or three times. This ensures no sanitizing solution remains. You can taste a small amount of the last dispensed water to check for any lingering smells or tastes. If you detect any, do another rinse cycle.
Step 5: Reassemble and Refill
Once you’ve flushed the system thoroughly, reassemble any parts you removed. Make sure the drip tray is back in place. Now, you can install a new bottle of water. Place the bottle firmly onto the cooler’s probe.
Allow a few minutes for the water to fill the reservoirs. Then, plug the cooler back into the electrical outlet. You might hear it start to cool or heat the water. Your cooler is now clean and ready to dispense fresh, great-tasting water!
A Quick Checklist for Your Next Cleaning Session
Here’s a handy checklist to keep by your cooler for your next cleaning:
- Unplug the water cooler.
- Drain all hot and cold water.
- Wash removable parts with soap and water.
- Sanitize the reservoir and spigots.
- Rinse the system thoroughly with fresh water.
- Reassemble and install a new water bottle.
Ticking these boxes ensures you haven’t missed any critical steps. It’s a simple routine that keeps your water safe and delicious. You’ve got this!
Conclusion
You’ve now learned the essential steps to keep your bottom load water cooler clean and functioning at its best. Remember, a little consistent effort prevents common issues like mold and bad tastes. By following this simple guide, you ensure your water stays fresh and healthy for you and your family. Make cleaning your water cooler a regular habit, just like changing an air filter. Your next step is to schedule your first cleaning session for the upcoming month!
Frequently Asked Questions
How often should I clean my bottom load water cooler?
It’s generally recommended to clean your water cooler every 3 to 6 months. However, if you notice any changes in water taste or smell, it’s a sign you should clean it sooner. Heavy usage might also require more frequent cleanings.
Can I use bleach to sanitize my water cooler?
Yes, a mild bleach solution (one tablespoon of bleach per gallon of water) is a common and effective sanitizer. Just be sure to flush the system thoroughly afterward to remove any bleach residue and prevent taste or odor issues.
What if my cooler doesn’t have a drain valve?
If your cooler lacks a drain valve, you can usually empty the reservoirs by carefully tipping the unit over a sink or bucket. Some models may also have a small tap located on the back panel for draining.
Is it okay to use regular dish soap?
For cleaning removable parts like the drip tray, a mild, unscented dish soap is perfectly fine. Avoid abrasive cleaners or sponges that could scratch the surfaces. Always rinse these parts thoroughly with clean water.
How can I tell if my water cooler is truly clean after sanitizing?
After thoroughly rinsing the system multiple times, dispense a small amount of water from both the hot and cold spigots. Taste or smell this dispensed water. If there are no lingering chemical odors or tastes, your cooler is clean and ready for use.