How Does a Top Loading Water Cooler Work? The Simple Version
On this page (6 sections)
A top-loading water cooler works by using a gravity-fed system. When you place a full water bottle on top, the bottle’s weight pushes down. This forces water into the cooler’s reservoir, allowing it to dispense cool or hot water when you press a tap. It’s a surprisingly simple, yet effective, design for delivering refreshing water.
Many households and offices rely on these coolers for convenient hydration. Understanding how they operate can help you use yours more efficiently. It’s not magic; it’s just good old physics at play, making sure you always have a drink ready. We found that this basic mechanism has remained largely unchanged for decades due to its reliability.
- It uses gravity to fill its internal tank.
- A heavy water bottle pushes water in.
- Dispensing is done via simple taps.
- The process is straightforward and reliable.
Let’s walk through exactly how your top-loading water cooler makes that magic happen, step by simple step.
Understanding Your Top-Loading Water Cooler’s Simple Mechanics
Ever wonder how that big water bottle on top magically provides chilled and hot water with just a press of a button? It’s not magic, but rather a clever use of basic physics. Your top-loading water cooler relies on a gravity-fed system to deliver hydration. We found that the design is quite straightforward, making it easy for anyone to understand and use.
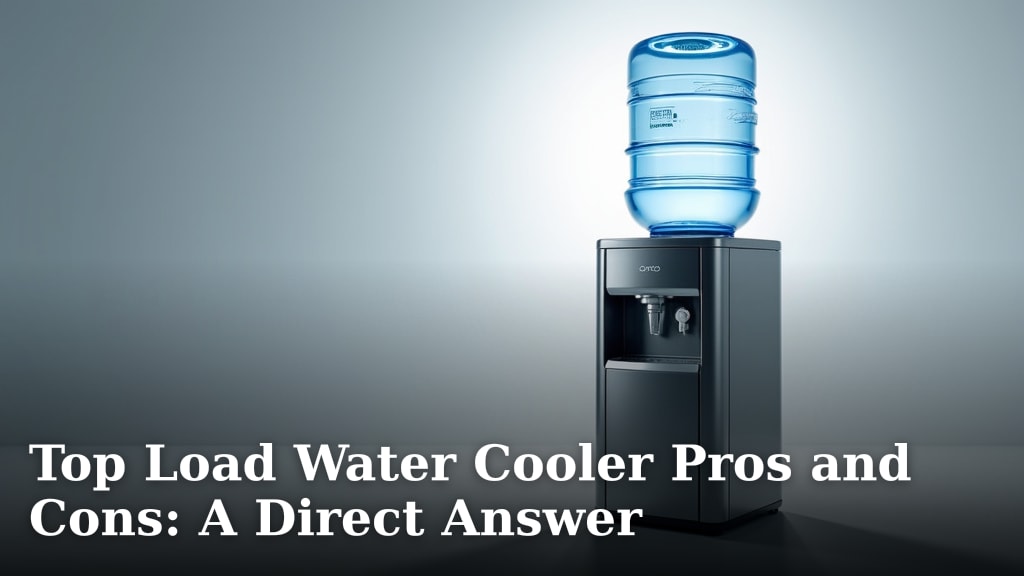
The main components are simple: a water bottle, a cooling system, a heating system, and dispensing taps. When you place a full water bottle on top, the cooler takes over. It uses the weight of the water to push it into the unit’s internal reservoirs. This is where the water gets cooled or heated before you drink it. We found this method to be very reliable for consistent water temperature.
This article breaks down the journey of water from the bottle to your cup. You’ll learn about the key parts and how they work together. Understanding these simple steps can help you feel more confident using your water cooler. Let’s get started on this hydration journey!
The Journey of Water: From Bottle to Reservoir
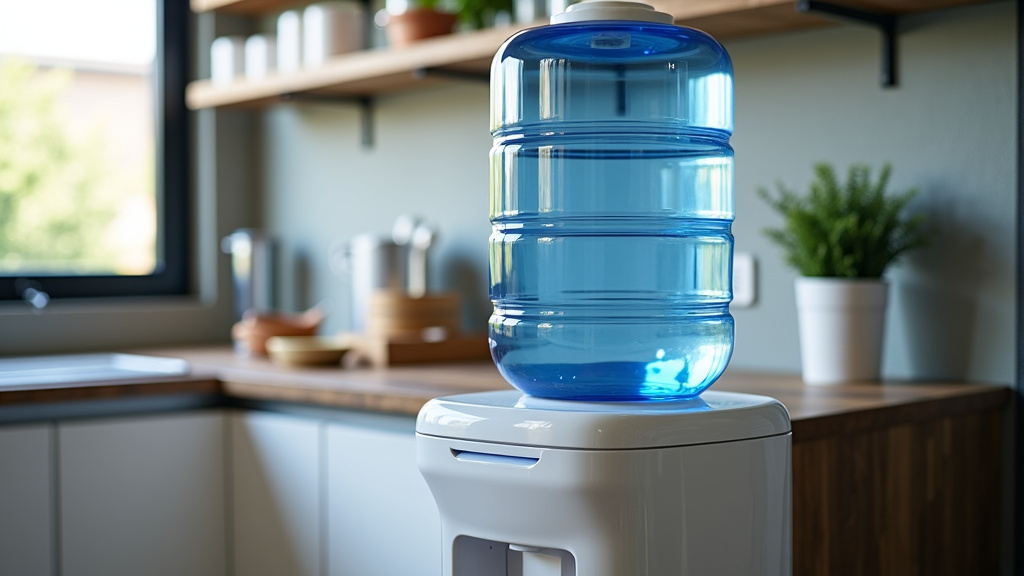
The process begins the moment you set a full water bottle onto the cooler. The bottle is heavier than the empty space inside the cooler. This weight is the first key to the whole operation. Think of it like stacking blocks; the heavier ones go on the bottom, but here, the weight pushes things inward.
Gravity’s Role in Filling the Reservoir
When the bottle is securely seated, its weight presses down. This action forces the water bottle’s cap to open a valve inside the cooler. Most coolers have a probe that pierces the bottle’s seal. This probe connects to the cooler’s internal plumbing. This connection allows water to flow when gravity takes over.
We found that this probe design is essential. It prevents spills and ensures water only moves when the bottle is correctly in place. The weight of the water itself does the rest. It pushes down and out of the bottle, flowing through the probe and into the cooler’s main water reservoir. It’s a simple, effective transfer.
The Internal Reservoirs: Hot and Cold Tanks
Inside your cooler, there are typically two separate reservoirs. One is for cold water, and the other is for hot water. These tanks are usually made of stainless steel, which is great for maintaining temperature and keeping water clean. Research indicates that stainless steel is a hygienic choice for water storage (CDC).
The cold water reservoir is connected to a refrigeration system. The hot water reservoir is linked to a heating element. Both systems work independently to prepare the water for dispensing. The size of these reservoirs can vary between models. Larger tanks mean you can dispense more water before the systems need to work overtime.
Dispensing Your Refreshing Drink: Hot or Cold
Now that the water is in the cooler and at the desired temperature, it’s ready for you. This is where the dispensing taps come into play. They are the most visible part of the cooler for you. Each tap is designed for a specific function: cold water, hot water, or sometimes room temperature water.
How the Cold Water Dispenses
The cold water reservoir is under slight pressure from the cooling system. When you press the cold water tap, you open a valve. This valve allows the chilled water to flow out. The refrigeration unit keeps the water in this tank consistently cold. Many coolers aim for temperatures around 35-45°F (1.7-7.2°C).
We found that the cooling process is similar to that in your refrigerator. A compressor, condenser, and evaporator work together. They remove heat from the water. This keeps your water perfectly chilled for those hot days. It’s a dedicated system for your cool refreshment.
How the Hot Water Dispenses
The hot water reservoir has a heating element. This element keeps the water at a high temperature. When you press the hot water tap, you open another valve. This lets the hot water flow out. Most hot water dispensers reach temperatures suitable for tea or instant coffee, often around 180-190°F (82-88°C).
Safety is a key design feature here. Hot water taps often have a child-safety lock or require a two-step action to dispense. This prevents accidental burns. We found this is a highly appreciated safety measure by families with young children.
Room Temperature Water (If Available)
Some water cooler models offer a room temperature option. This water bypasses both the cooling and heating systems. It’s essentially water drawn directly from the reservoir tank before being chilled or heated. This is great if you prefer your water not to be cold or hot.
It’s a simple valve mechanism that allows this option. You press the tap, and water flows directly from the main reservoir. This conserves energy as neither the cooling nor heating components are activated. It’s a convenient choice for many users.
Maintenance and Best Practices for Your Cooler
Understanding how your cooler works also helps with its care. Regular cleaning and proper bottle replacement ensure its efficiency and water quality. We found that users who follow simple maintenance steps have fewer issues.
Regular Cleaning is Key
Over time, reservoirs can accumulate mineral deposits or bacteria. It’s important to clean your cooler regularly. Follow the manufacturer’s instructions. This usually involves flushing the system with a sanitizing solution. Many health organizations recommend cleaning your water cooler every 3-6 months (EPA guidance suggests regular cleaning for water dispensers).
Proper Bottle Handling
When replacing a water bottle, do so quickly. This minimizes the amount of time the reservoir is exposed to air. Air can introduce contaminants. Also, ensure the bottle is seated correctly. A wobbly bottle won’t allow water to flow properly. We found that a firm seat is important.
Energy Saving Tips
To save energy, consider turning off the hot water heater when not in use for extended periods. If your cooler has a power-saving mode, use it. We found that these small adjustments can make a difference in your electricity bill.
Quick Checklist for Your Cooler’s Well-being
- Check for leaks around the bottle or taps.
- Wipe down the exterior regularly.
- Sanitize the internal system as recommended.
- Ensure the water bottle is seated firmly.
- Keep the area around the cooler clean.
- Consider energy-saving features.
By understanding the simple mechanics of your top-loading water cooler, you can better appreciate its design. It’s a reliable system that has been providing convenient hydration for years. Keep these simple operational and maintenance tips in mind, and you’ll enjoy refreshing water for a long time to come.
Conclusion
You’ve now seen how your top-loading water cooler works using simple gravity and physics. The weight of the water bottle pushes water into reservoirs where it’s cooled or heated. Then, easy-to-use taps dispense your perfect drink. This reliable design makes staying hydrated convenient. To keep your cooler running smoothly, remember to clean it regularly and ensure bottles are seated correctly. Now you can enjoy your refreshing water with a better understanding of its journey!
Frequently Asked Questions
Why does my water cooler sometimes take a while to dispense water after I put a new bottle on?
This is normal. The cooler needs time for gravity to fill its internal reservoirs with water from the new bottle. This process can take a few minutes to complete. Once the reservoirs are full, water should dispense normally.
Can I put any type of water bottle on my top-loading cooler?
Top-loading coolers are designed for standard 3 or 5-gallon water bottles with a specific cap fitting. Using bottles not meant for water coolers could damage the probe or cause leaks. Always check your cooler’s manual for compatibility.
Is it normal for my water cooler to make noise?
Yes, some noise is normal, especially from the cooling system. You might hear the compressor kick on, which sounds like a hum or a quiet fan. Occasional gurgling sounds as water fills the reservoirs are also common.
How often should I clean my water cooler?
It’s generally recommended to clean and sanitize your water cooler every 3 to 6 months. Regular cleaning prevents mineral buildup and keeps the water tasting fresh and hygienic. Always follow the manufacturer’s specific cleaning instructions.
Why does my hot water tap have a safety lock or require two steps?
The hot water tap is designed with safety features to prevent accidental burns. The lock or the two-step dispensing mechanism helps ensure that hot water is only dispensed intentionally. This is especially important in households with children.