Top Load Water Cooler Bottle Placement: The Quick Rundown
On this page (3 sections)
Placing your top load water cooler bottle correctly is mostly about making sure it’s secure and stable. You want to avoid any wobbling or potential leaks. The key is to get it seated properly on the cooler’s neck, ensuring a good seal. This prevents air from entering the bottle and affecting water flow.
When you install a new bottle, give it a gentle twist once it’s on. This helps it settle into place. Think of it like screwing a lid onto a jar – you want it snug but not forced. A properly placed bottle means your cooler will dispense water smoothly and efficiently.
- Bottle placement is key for cooler function.
- Ensure the bottle is seated securely.
- A gentle twist can help create a good seal.
- Avoid wobbling for optimal water flow.
- Proper placement prevents leaks and air entry.
Ready to make sure your water cooler bottle is set up perfectly? Let’s walk through the simple steps to get it right every time.
Installing Your Top Load Water Cooler Bottle
Properly seating your top load water cooler bottle is a simple but essential step. It ensures your cooler works efficiently. We’ll guide you through the process so you can enjoy clean, refreshing water without any hassle.
Preparing the New Water Bottle
Before you place the bottle, give it a quick inspection. Make sure the cap is fully removed. Sometimes a protective seal might be under the cap. You need to take that off too. A loose seal can cause air to enter the cooler. This can lead to gurgling sounds or even leaks.
We recommend having a damp cloth handy. This can be useful for wiping down the bottle’s neck. A clean neck helps ensure a better seal. It also prevents any dust or debris from getting into your water.
Lifting and Positioning the Bottle
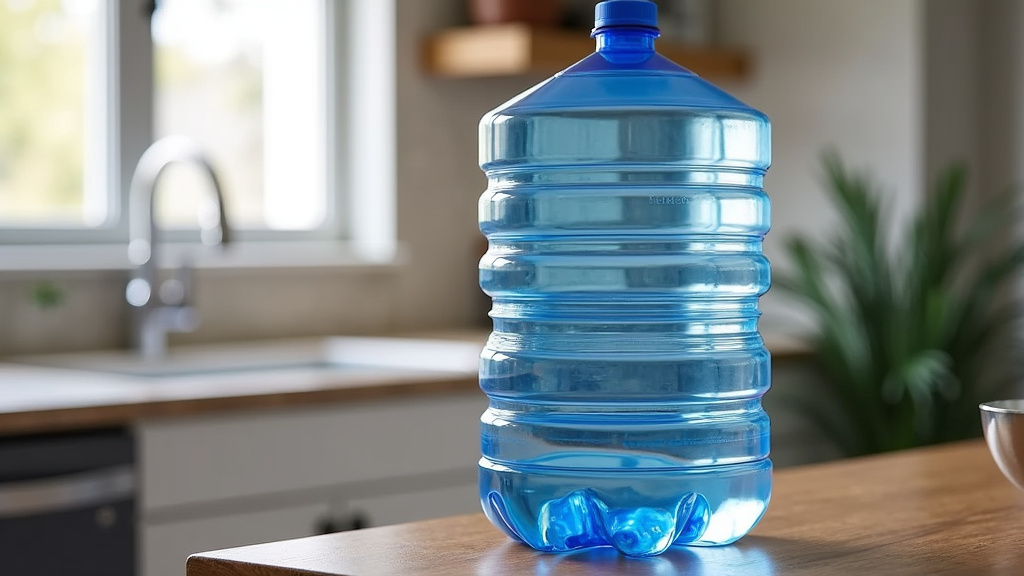
Top load water bottles can be quite heavy. They typically hold about 5 gallons of water. You’ll want to use good lifting technique. Bend your knees and keep your back straight. Lift with your legs, not your back. If the bottle is too heavy, ask someone for help. It’s better to be safe than sorry.
Once you have the bottle, bring it to your water cooler. Position it directly over the cooler’s water dispenser neck. Aim carefully. You want to lower it straight down. Don’t try to slide it on from the side. This can damage the bottle or the cooler’s seal.
Seating the Bottle Correctly
This is the most important part of the process. Gently lower the bottle onto the cooler’s neck. You should feel it start to seat. Don’t force it down. The bottle should sit firmly.
After the bottle is on, give it a gentle twist. This helps the bottle settle and create a tight seal. Think of it like screwing on a jar lid. You want it snug, not over-tightened. A good seal is critical for proper operation. It prevents air from entering the bottle. This ensures a smooth, consistent water flow.
Signs of a Good Seal
How do you know if you’ve got a good seal? You shouldn’t hear any air rushing into the bottle. The bottle should feel stable. It shouldn’t wobble or tilt. If you hear a lot of hissing or gurgling right away, the seal might not be perfect. You may need to reseat the bottle.
What to Do If It Doesn’t Feel Right
If the bottle feels loose or wobbly, take it off and try again. Make sure you removed all protective caps and seals from the bottle’s opening. Sometimes, the bottle’s neck might have a slightly different shape. You might need to adjust your angle slightly when lowering it.
We found that a gentle, consistent pressure is best. Avoid slamming the bottle down. This can create air pockets or damage the bottle’s opening. A calm, deliberate approach usually works wonders.
Checking for Leaks and Air Bubbles
Once the bottle is seated, place your hand on top of it. Give it a very gentle push downwards and a slight twist. You should feel it settle firmly into place. Now, check around the neck of the bottle where it meets the cooler. You shouldn’t see any water dripping. This is your first clue that the seal is good.
Next, look for air bubbles. When you first dispense water, you might see a few small bubbles. This is usually normal as the system primes itself. However, if you see large, continuous streams of bubbles going back into the bottle, it’s a sign of a poor seal. This means air is getting in. This can affect water flow and the cooler’s performance.
Troubleshooting Air Bubbles
If you notice a lot of bubbles, don’t worry. It’s usually an easy fix. The most common reason is that the bottle isn’t seated correctly. You’ll need to remove the bottle and try seating it again. Pay close attention to how it feels as you lower it. That gentle twist can make a big difference.
Some sources suggest checking the bottle’s cap. While most bottles have a simple screw-off cap, a few might have a more complex fitting. Ensure there’s no residue left from any protective seal. A clean, smooth bottle neck is key.
Ensuring Smooth Water Flow
A properly placed bottle means your water cooler will dispense water smoothly. When the seal is good, the pump doesn’t have to work as hard. You get a consistent stream of water. You won’t experience sputtering or sudden stops in flow.
Think of it like a straw. If there’s a crack in the straw, you don’t get much suction. Your water cooler works similarly. A good seal allows the internal mechanism to draw water effectively. This leads to that satisfying, steady flow you expect.
Understanding Cooler Neck Types
While most top load coolers use a standard neck design, there can be slight variations. Some may have a slightly wider or narrower opening. Others might have a specific lip or ridge that the bottle needs to engage with.
Most water bottle manufacturers design their bottles to fit standard cooler necks. However, if you’re using a non-standard bottle or cooler, it might require a bit more care. Always refer to your cooler’s manual if you have one. It can provide specific guidance for your model.
Common Pitfalls to Avoid
One of the most common mistakes is not removing the bottle’s cap or seal completely. Another is forcing the bottle down too hard. This can damage the bottle’s rim or the cooler’s gasket. Also, remember to lift with your legs. Heavy bottles can lead to back strain.
Don’t forget to check for leaks after installation. A small drip might not seem like much, but it can lead to water damage over time. Make sure the bottle feels stable and doesn’t rock.
A Quick Checklist for Bottle Placement
Here’s a simple checklist to make sure you get it right every time:
- Remove the bottle’s cap and any protective seals.
- Wipe the bottle’s neck clean if needed.
- Lift the bottle using proper technique.
- Position it directly over the cooler’s neck.
- Lower it gently, don’t force it.
- Give it a gentle twist to secure the seal.
- Check for wobbling and immediate leaks.
When to Seek Further Assistance
If you’ve tried several times and the bottle still feels loose, wobbles excessively, or you see continuous air bubbles, there might be an issue. It could be a faulty bottle neck or a problem with the cooler’s seating area. In such cases, it’s best to contact the manufacturer of your water cooler. They can provide specific troubleshooting steps or arrange for service if needed. Many manufacturers also offer replacement parts if a component is damaged.
Conclusion
You’ve now learned how to properly place your top load water cooler bottle for optimal performance. Remember, a secure and stable bottle ensures a good seal, preventing leaks and unwanted air entry. This simple technique leads to smooth, efficient water dispensing every time you need a drink. Always take a moment to check for wobbling and listen for unusual noises after installation. Ready to enjoy hassle-free hydration? Your next step is to confidently apply these tips with every new bottle change.
Frequently Asked Questions
How do I know if the water bottle is seated correctly?
A correctly seated bottle will feel stable and won’t wobble. You shouldn’t hear a constant hissing or gurgling sound immediately after placement. A gentle twist helps ensure the seal is snug, which is key to proper function.
What if I hear a lot of gurgling when I first put the bottle on?
Excessive gurgling often means the seal isn’t tight, allowing air to enter the bottle. Remove the bottle and try seating it again, paying attention to the feel as you lower it. A gentle twist can help create a better seal.
Can I reuse the plastic wrap or cap from the water bottle?
No, you must remove all protective caps and seals from the bottle’s opening before placing it on the cooler. Leaving any part of the seal on can prevent a proper seal and cause air or leaks.
Is it okay for a few air bubbles to appear when I first dispense water?
Yes, a few small air bubbles when you first dispense water are usually normal. This is often the system priming itself. However, large, continuous streams of bubbles indicate a poor seal and should be addressed.
My cooler sometimes sputters when dispensing water. What could be wrong?
Sputtering water flow can often be a sign of an improper bottle seal. If air is entering the bottle, the cooler’s pump can struggle to draw water consistently. Re-seating the bottle and ensuring a tight seal should resolve this issue.