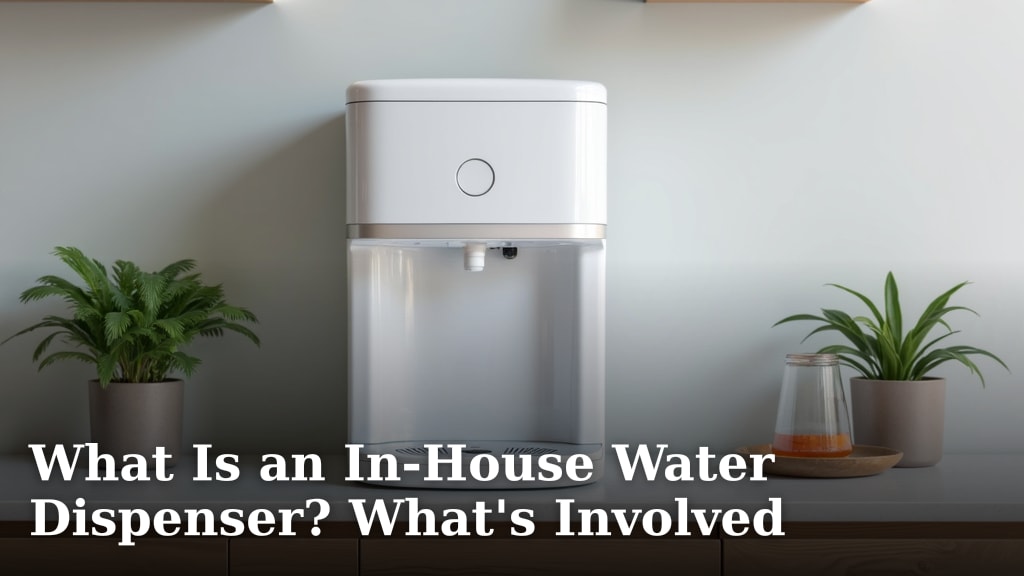
What Is an In-House Water Dispenser? What’s Involved
An in-house water dispenser is a plumbing appliance that connects directly to your home’s water supply. It provides instant chilled or hot water at the touch of a button. Think of it as a super convenient, built-in water fountain for your kitchen or breakroom.
These dispensers offer a steady stream of clean, filtered water right where you need it. They can significantly cut down on buying bottled water and contribute to a more eco-friendly household or office. Many models also offer advanced features like built-in filtration systems.
- It’s a plumbing appliance for instant water.
- Connects directly to your home’s water line.
- Provides chilled or hot, filtered water.
- Reduces reliance on bottled water.
- Offers convenience and potentially saves money.
Let’s dive into what’s actually involved with having one of these handy units in your home. We’ll cover installation, maintenance, and what to expect.
So, you’re curious about those sleek, built-in water dispensers? They seem almost magical, offering chilled water with a simple push. But what’s really involved in getting one installed and keeping it running smoothly in your home? Let’s break it down. We’ll look at the installation process, the ongoing care you’ll need to provide, and what kind of performance you can generally expect from these convenient appliances.
Getting an In-House Water Dispenser Set Up
The installation of an in-house water dispenser is a key step. It’s not quite a DIY job for most people. It involves connecting directly to your home’s plumbing system. This means running a water line to the dispenser’s location. It’s also important to consider where the electricity will come from, as these units need power to chill or heat water.
Plumbing and Water Lines
This is where a plumber often comes in. They’ll tap into your existing cold water line. This connection provides the water source for the dispenser. The type of connection needed can depend on your home’s specific plumbing. Experts recommend using a licensed plumber to ensure the job is done correctly and safely. Improper connections can lead to leaks or water damage.
Types of Connections
You’ll typically see a valve installed. This valve connects to a thin water line, often PEX or copper tubing. This line then runs discreetly to the dispenser. Sometimes, a saddle valve is used for simpler connections. However, a more permanent tap into a pipe is often preferred for reliability. Ensuring a secure fit is **vital** for preventing drips.
Drainage Considerations
Unlike a refrigerator dispenser that might just let water flow, some in-house units might have condensation or need a small drain connection. This depends on the specific model. If your dispenser has a heating element, it might produce a small amount of steam or water. Your installer will assess if a drain is necessary. It’s usually a minor addition.
Electrical Requirements
Your dispenser needs power to operate its cooling and heating functions. You’ll need a standard electrical outlet nearby. If one isn’t conveniently located, an electrician might need to install one. The cord length on dispensers can vary, so measure the distance from your desired spot to the nearest outlet. Safety is paramount here, so using a grounded outlet is **always** recommended.
Location, Location, Location
Think carefully about where you want your dispenser. The kitchen is a popular choice, but it could also work in a home office or a basement wet bar. Proximity to a water line and an electrical outlet will guide your decision. You’ll also want a spot that allows for easy access and doesn’t obstruct daily kitchen traffic. Some dispensers are countertop models, while others are plumbed into cabinets.
Maintaining Your In-House Water Dispenser
Once installed, these dispensers require regular upkeep. This isn’t a “set it and forget it” appliance. Routine maintenance ensures you get the best tasting water and keeps the unit running efficiently. It’s much like caring for any other kitchen appliance.
Filter Replacement is Key
This is probably the most important maintenance task. Most in-house water dispensers come with built-in filters. These filters remove impurities, chlorine, and other substances that affect taste and quality. Over time, the filter gets clogged and less effective. Many experts advise replacing filters every 3 to 6 months. Check your user manual for the specific schedule recommended for your model. A dirty filter can lead to poor-tasting water and reduced flow. You’ll typically see an indicator light on the dispenser itself when it’s time for a change, which is a **handy** feature.
Types of Filters
You’ll find different types of filters. Common ones include activated carbon filters, which are great for improving taste and odor. Some advanced systems might use multi-stage filtration, incorporating sediment filters or even UV sterilization. Knowing what type of filter your dispenser uses will help you find replacements. You can usually buy them online or at appliance stores.
Regular Cleaning and Sanitization
Beyond the filter, the dispenser itself needs cleaning. This prevents mold or bacteria buildup. We’re talking about the drip tray, the spigots, and the water reservoir if your model has an accessible one. A mild soap and water solution usually does the trick. For sanitizing, a diluted vinegar solution or a special food-grade sanitizer can be used periodically. Always follow the manufacturer’s instructions for cleaning. Keeping these parts clean is essential for water hygiene.
Cleaning the Drip Tray
The drip tray catches stray water and condensation. It’s a prime spot for grime. Remove it regularly and wash it thoroughly. This prevents unpleasant odors and keeps the area around the spigot clean. It’s a quick task that makes a big difference in overall cleanliness. Many drip trays are dishwasher safe.
Sanitizing Spigots and Reservoirs
If your dispenser has an internal reservoir (like some hot water models), it may need occasional sanitization. This is less common in purely chilled models that run water through a cooling system directly. For the spigots, a gentle wipe with a sanitizing solution helps. This ensures the water you dispense is as clean as possible. We found that doing this every few months keeps things fresh. Manufacturers might offer specific cleaning kits for their units.
Checking for Leaks and Issues
While not a daily task, it’s wise to periodically check around the dispenser for any signs of leaks. Look at the connections under the counter if accessible. Listen for any unusual noises from the unit. If you notice a persistent drip or a strange sound, it’s time to investigate. Catching small problems early can prevent larger, more costly repairs. Many issues are minor and easily fixed, but ignoring them is never a good idea.
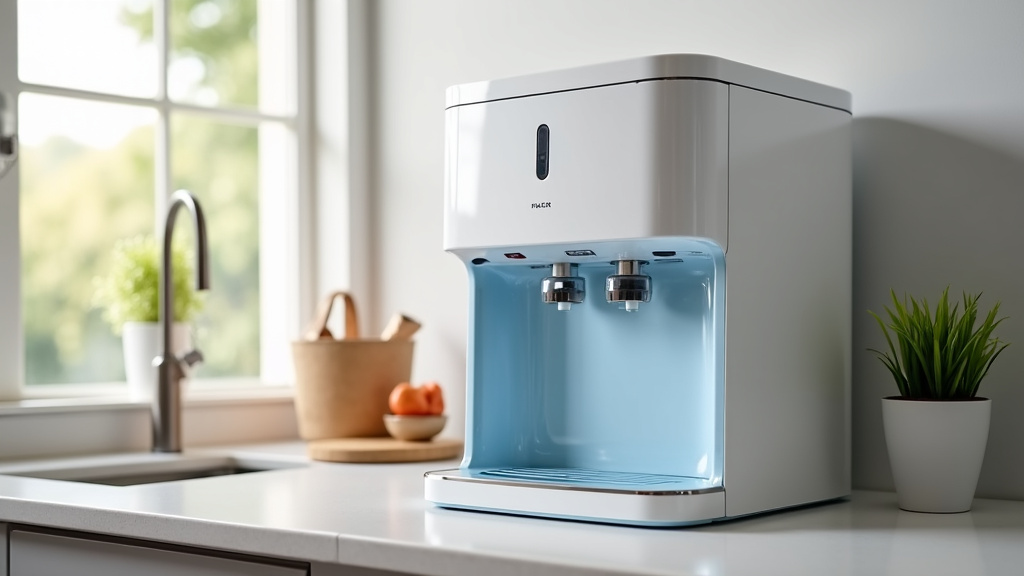
What to Expect from Your In-House Water Dispenser
So, what’s the daily reality of owning one of these? It’s about convenience, but there are a few performance aspects to be aware of.
Water Temperature Consistency
Chilled models are designed to keep water cool, typically between 40-50°F (4-10°C). Hot water models heat water to near boiling, usually around 185-205°F (85-96°C). The time it takes to reach these temperatures after a long period of inactivity can vary. For instance, a hot water dispenser might take a few minutes to reheat if it’s been turned off or hasn’t been used for a while. Cooling can also take a little time. This is normal as the system works to maintain the set temperature. Research from appliance testing labs indicates that maintaining a constant temperature is the primary goal of these units.
Water Flow Rate
The amount of water that comes out at once is generally comparable to a standard faucet. However, if your filter is clogged or nearing the end of its life, you might notice a slower flow. This is a good indicator that it’s time for a replacement. The tubing size and water pressure from your home also play a role in the flow rate. Most users find the flow perfectly adequate for filling glasses or pots.
Noise Levels
Like refrigerators, water dispensers have components that make noise. You might hear the compressor kicking on and off for cooling. Hot water models might have a heating element that makes a slight humming sound. These noises are typically quite low and generally not disruptive. If you notice a loud or unusual noise, it might signal a problem that needs professional attention.
Energy Consumption
These units do use electricity. The amount depends on the model, its efficiency rating, and how often it’s used. Hot water dispensers generally use more energy than chilled-only models because they are actively heating water. Modern, energy-efficient models are available. Checking the Energy Star rating can help you choose a more economical option. While they do add to your electricity bill, many find the convenience and savings from not buying bottled water outweigh the energy cost.
Ready to make the switch? Understanding these aspects can help you choose the right model and enjoy your new, convenient source of water!
Conclusion
An in-house water dispenser brings pure convenience right to your fingertips. You’ve learned that setting one up involves some basic plumbing and electrical work, best handled by professionals. Regular upkeep, mainly filter changes and cleaning, is key to ensuring great-tasting water and efficient operation. While there’s a small energy cost and minor noise to expect, the benefits of instant, clean water and reduced bottled water waste are substantial. If you’re looking to upgrade your kitchen or office and simplify your hydration habits, consider reaching out to a qualified plumber to discuss installation options for your home.
Frequently Asked Questions
How much does it cost to install an in-house water dispenser?
Installation costs can vary widely. Typically, you’ll pay for a plumber’s time, which might range from $150 to $400 or more, depending on your location and the complexity of the job. Some models might also need an electrician if a new outlet is required, adding to the expense.
Do I need a special type of water line for an in-house dispenser?
No, usually not. Most dispensers connect to your standard cold water line. The plumber will install a valve to tap into this existing line and run a dedicated, usually thin, tube to the dispenser. Your home’s water pressure will determine the flow rate.
How often should I replace the water filter?
Most manufacturers recommend replacing the filter every 3 to 6 months. This frequency depends on your water quality and how much water you use. Some dispensers have indicator lights to remind you when it’s time for a change, which is very helpful.
Can I install an in-house water dispenser myself?
While some handy individuals might attempt it, it’s generally recommended to hire a professional plumber. Connecting to your water supply incorrectly can lead to leaks or water damage. An electrician may also be needed for power hookups.
What’s the difference between a plumbed-in dispenser and a bottled water cooler?
A plumbed-in dispenser connects directly to your home’s water supply, filtering it as it dispenses. A bottled cooler uses large water bottles that you manually replace. Plumbed-in units offer continuous water without refilling bottles and can be more cost-effective long-term.